Last time in part 1 we setup Azure AD authentication on Swagger UI to test an Azure AD-protected ASP.NET Core API. You can read that here if you missed it: https://joonasw.net/view/testing-azure-ad-protected-apis-part-1-swagger-ui.
We will continue with the same sample app, which you can find on GitHub: https://github.com/juunas11/testing-aad-protected-apis.
In this part we will look at a different tool for testing APIs. Postman is an API testing tool, where you can build requests, run them, and see responses. So you can do similar things like with Swagger UI, but you can also do more things.
In particular, we can test service to service API calls where the calling service authenticates with only its credentials. With Swagger UI, we always required the user to sign in.
Defining application permissions for the API
In order to test API calls authenticated with client credentials, we need to first define application permissions in Azure AD. We already defined delegated permissions / scopes in part 1 through the Portal UI. Sadly there is no UI for application permissions.
We will need to go into the manifest.
You can find the manifest through the Manifest button on the left side when you open your app registration.
There we need to add the permissions we want to the appRoles property:
{
  "appRoles": [
    {
      "allowedMemberTypes": ["Application"],
      "displayName": "Read all things",
      "id": "95143bff-1925-4ace-8cbe-b484d68378f1",
      "isEnabled": true,
      "description": "Allow the application to read all things as itself.",
      "value": "Things.Read.All"
    },
    {
      "allowedMemberTypes": ["Application"],
      "displayName": "Read all other things",
      "id": "dec0a418-3296-4106-a0e8-00b38e3c35dc",
      "isEnabled": true,
      "description": "Allow the application to read all other things as itself.",
      "value": "OtherThings.Read.All"
    }
  ]
}
Keep in mind this is an example,
you should set the value to what you want, and generate an id for each permission you add.
At minimum you should add one, I chose to add two here.
You can read more about defining permissions here: https://joonasw.net/view/defining-permissions-and-roles-in-aad.
Registering a new testing client application
Now that we have the permissions defined, we will need to register a new application in Azure AD. This will be the client application that will receive the application permissions we just defined. Unlike delegated permissions, application permissions cannot be used by the API app registration itself (like we did with Swagger UI).
So we register a new single-tenant app with no reply URL. Then we create a secret for it through the Certificates & secrets section. Finally, to add the application permissions, we go to the API permissions section, click Add permissions, go to APIs my organization uses, select Things API, and then select the two application permissions:
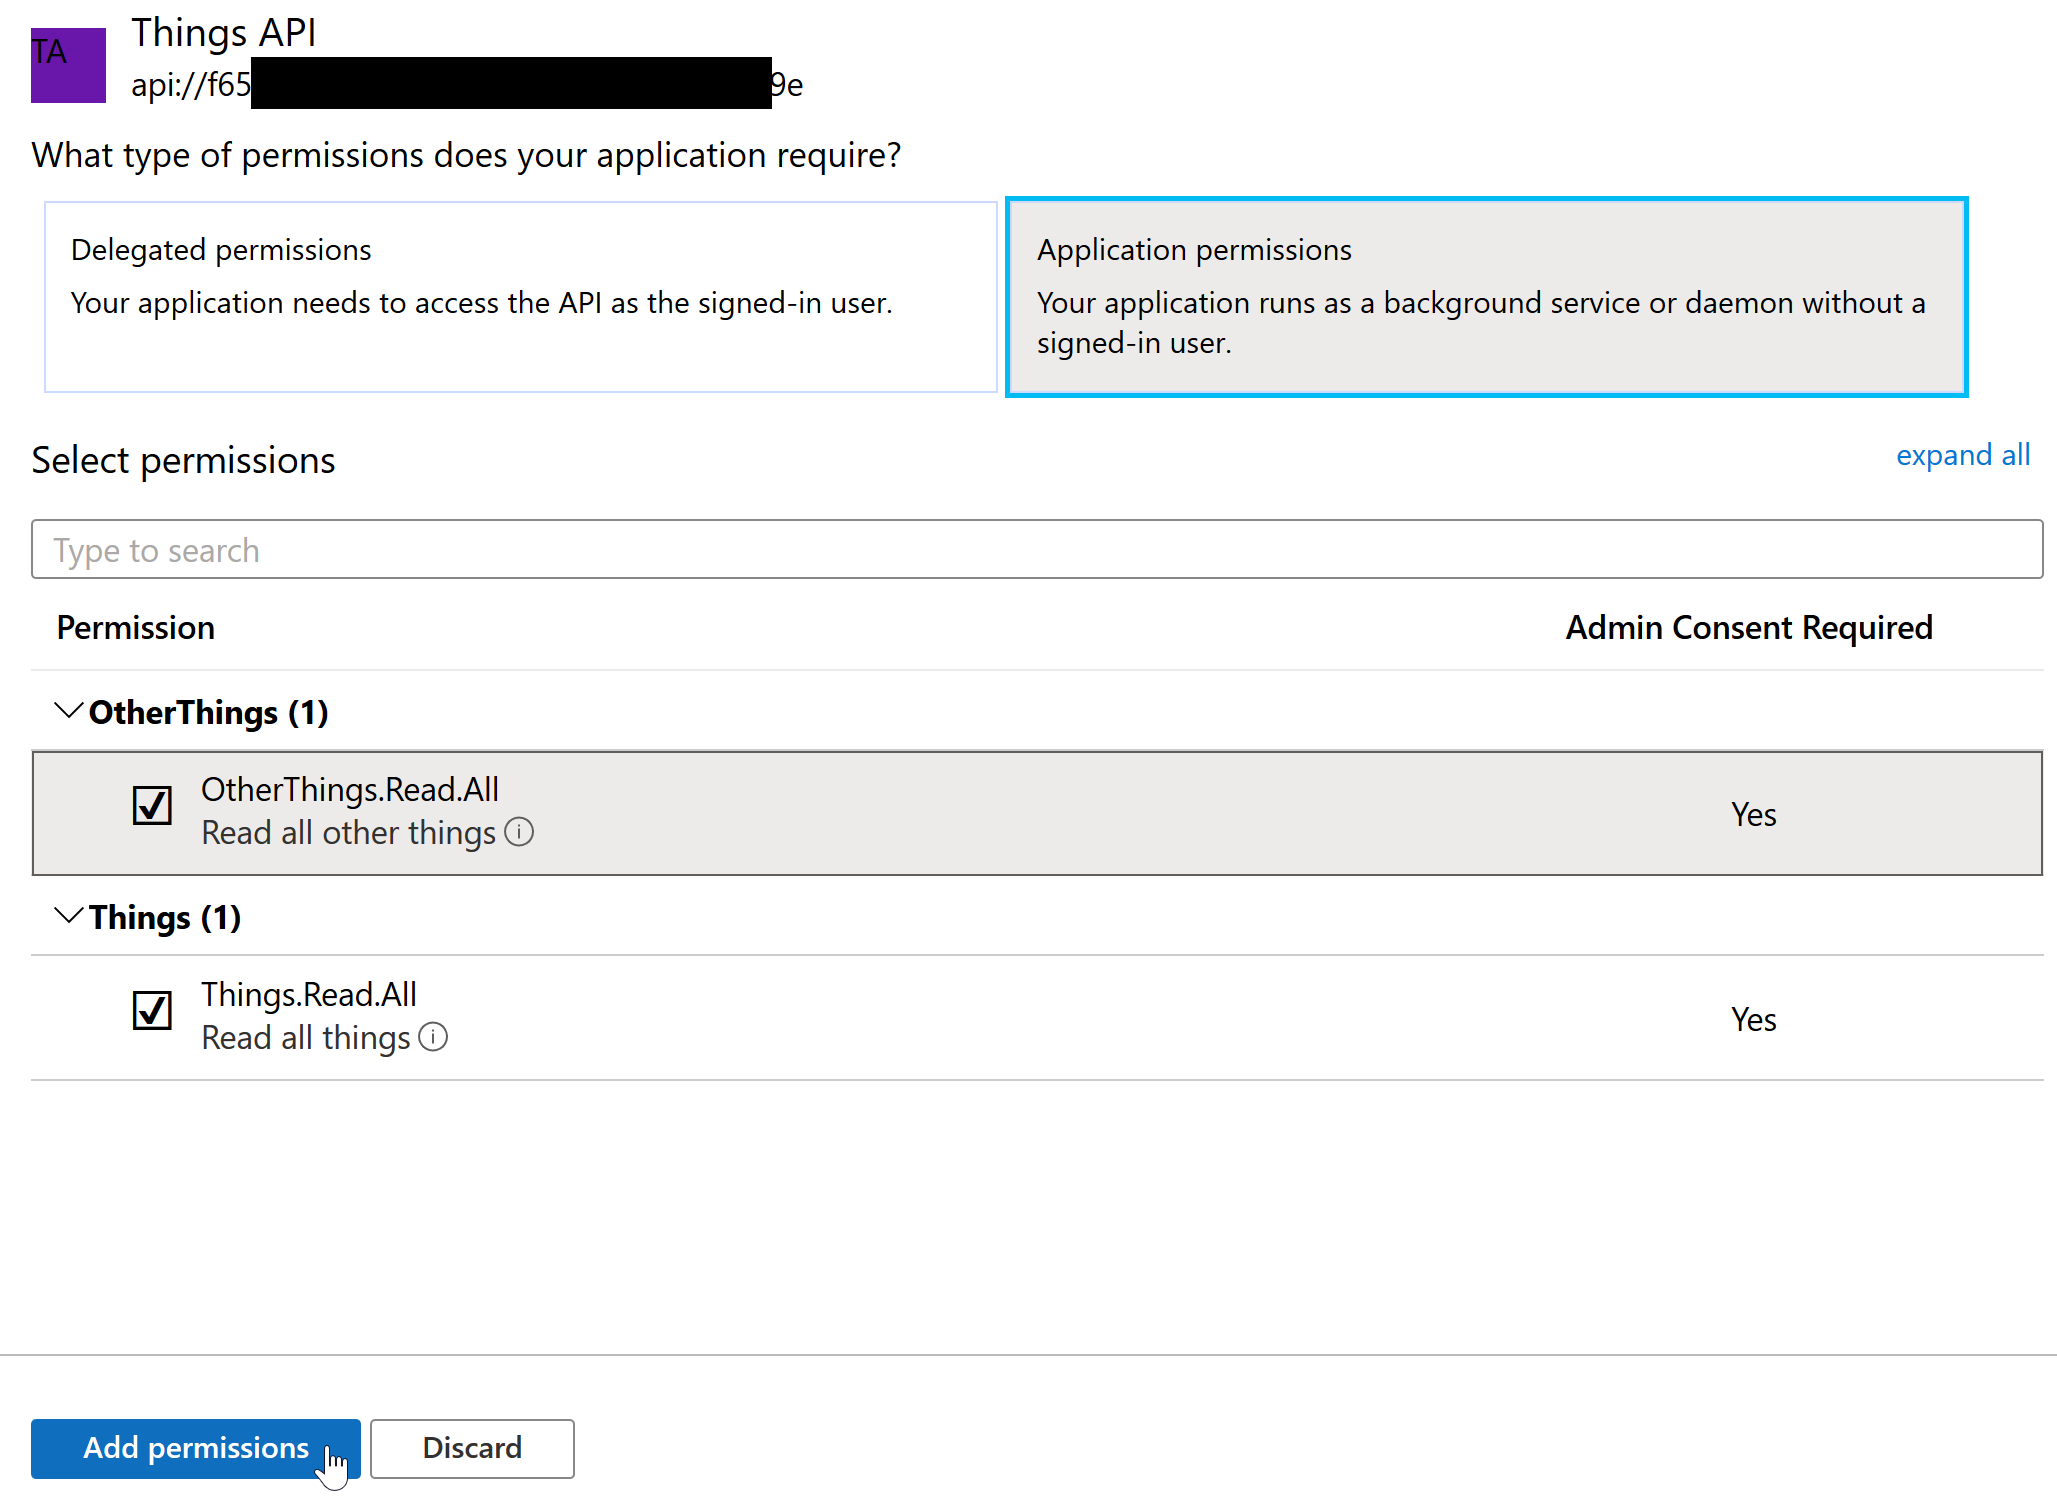
After adding them, we still need to consent them. As an admin, we can click Grant admin consent.
Enabling application permissions in the API
Now we need to enable usage of application permissions in the API. The version we used in part 1 would return a 403 Forbidden for an access token containing application permissions, since it does not know about them. So let’s teach it. You can see the full diff in GitHub.
First, an ApplicationPermissions class was created to hold the accepted application permission values (class source code):
internal static class ApplicationPermissions
{
    public const string ReadAllThings = "Things.Read.All";
    public const string ReadAllOtherThings = "OtherThings.Read.All";

    public static string[] All => typeof(ApplicationPermissions)
        .GetFields()
        .Where(f => f.Name != nameof(All))
        .Select(f => f.GetValue(null) as string)
        .ToArray();
}
Then the accepted application permissions per action were defined next to the delegated permissions as a new dictionary (class source code):
public static IReadOnlyDictionary<string, string[]> ApplicationPermissionsForActions = new Dictionary<string, string[]>
{
    [Actions.ReadThings] = new[] { ApplicationPermissions.ReadAllThings },
    [Actions.ReadOtherThings] = new[] { ApplicationPermissions.ReadAllOtherThings }
};
So it’s pretty much like before, we allow one permission for one of the actions, and one for the other.
Then we need to update the AnyValidPermissionRequirementHandler to accept application permissions (class source code):
string[] delegatedPermissions = context.User.FindAll(Claims.ScopeClaimType).Select(c => c.Value).ToArray();
string[] allAcceptedDelegatedPermissions = DelegatedPermissions.All;

string[] appPermissionsOrRoles = context.User.FindAll(Claims.AppPermissionOrRolesClaimType).Select(c => c.Value).ToArray();
string[] allAcceptedApplicationPermissions = ApplicationPermissions.All;

if (delegatedPermissions.Any(p => allAcceptedDelegatedPermissions.Contains(p)))
{
    // Caller has a valid delegated permission
    context.Succeed(requirement);
}
else if (appPermissionsOrRoles.Any(p => allAcceptedApplicationPermissions.Contains(p)))
{
    // Caller has a valid application permission
    context.Succeed(requirement);
}
And the ActionAuthorizationRequirementHandler (class source code):
string[] delegatedPermissions = context.User.FindAll(Claims.ScopeClaimType).Select(c => c.Value).ToArray();
string[] acceptedDelegatedPermissions = AuthorizedPermissions.DelegatedPermissionsForActions[requirement.Action];
string[] appPermissionsOrRoles = context.User.FindAll(Claims.AppPermissionOrRolesClaimType).Select(c => c.Value).ToArray();
string[] acceptedApplicationPermissions = AuthorizedPermissions.ApplicationPermissionsForActions[requirement.Action];

if (acceptedDelegatedPermissions.Any(accepted => delegatedPermissions.Contains(accepted)))
{
    context.Succeed(requirement);
}
else if (acceptedApplicationPermissions.Any(accepted => appPermissionsOrRoles.Contains(accepted)))
{
    context.Succeed(requirement);
}
Now our API accepts application permissions as well! So let’s get to testing shall we?
Testing application permissions with Postman
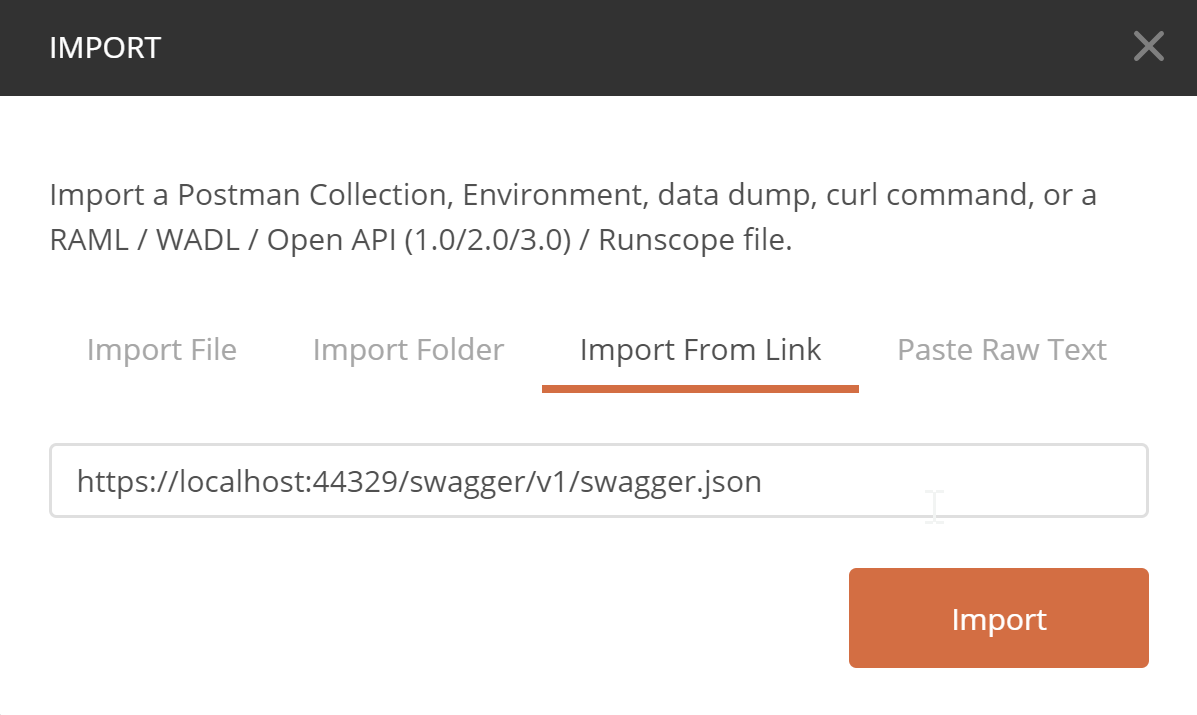
An easy way for us to get started in Postman is to import the Open API document from our API. To do that, we open Postman, click Import, choose Import from Link, and enter our Open API document URL:
The following options are shown next. Am I the only who got some Clippy vibes from this? 😂
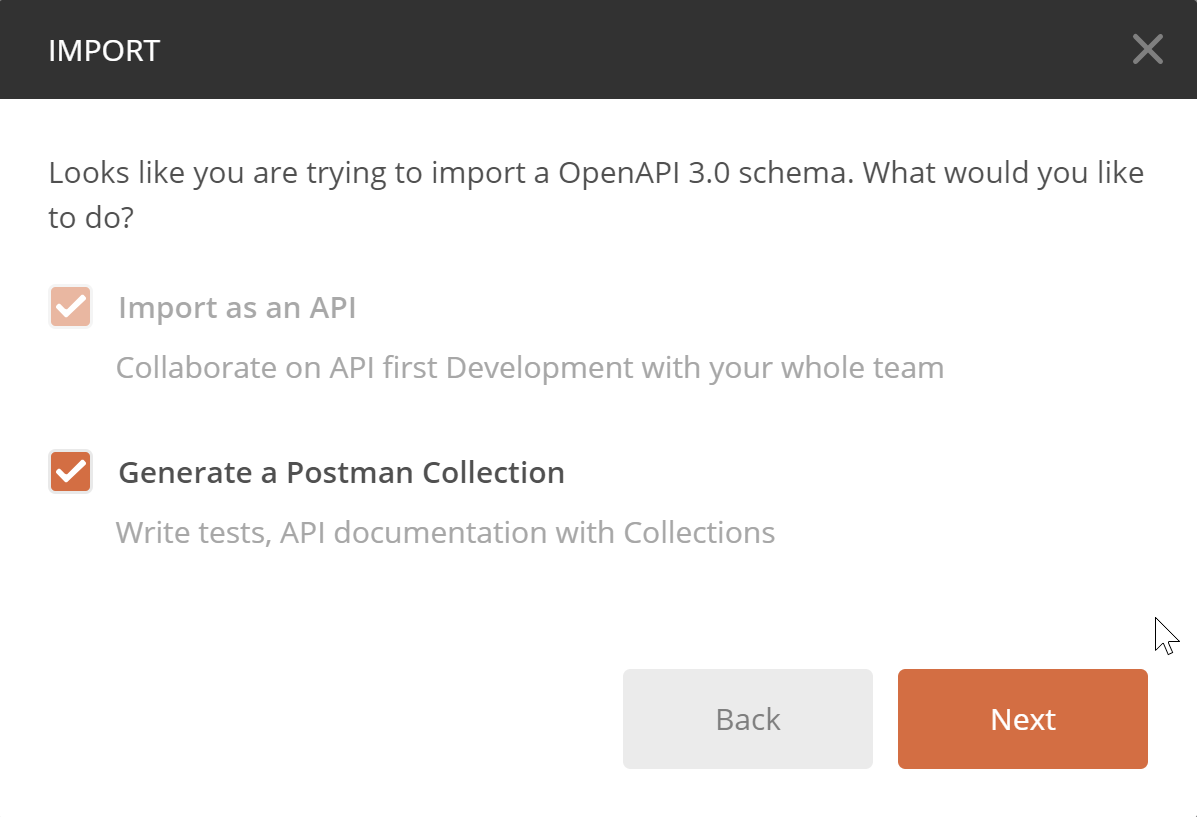
I left these at defaults since I do want a collection to be created. After the import the collection showed up in the sidebar:
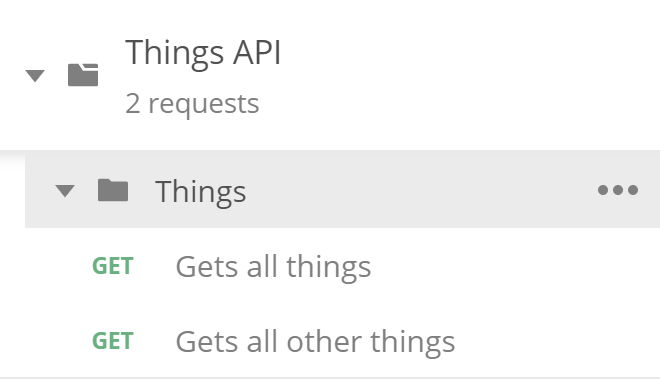
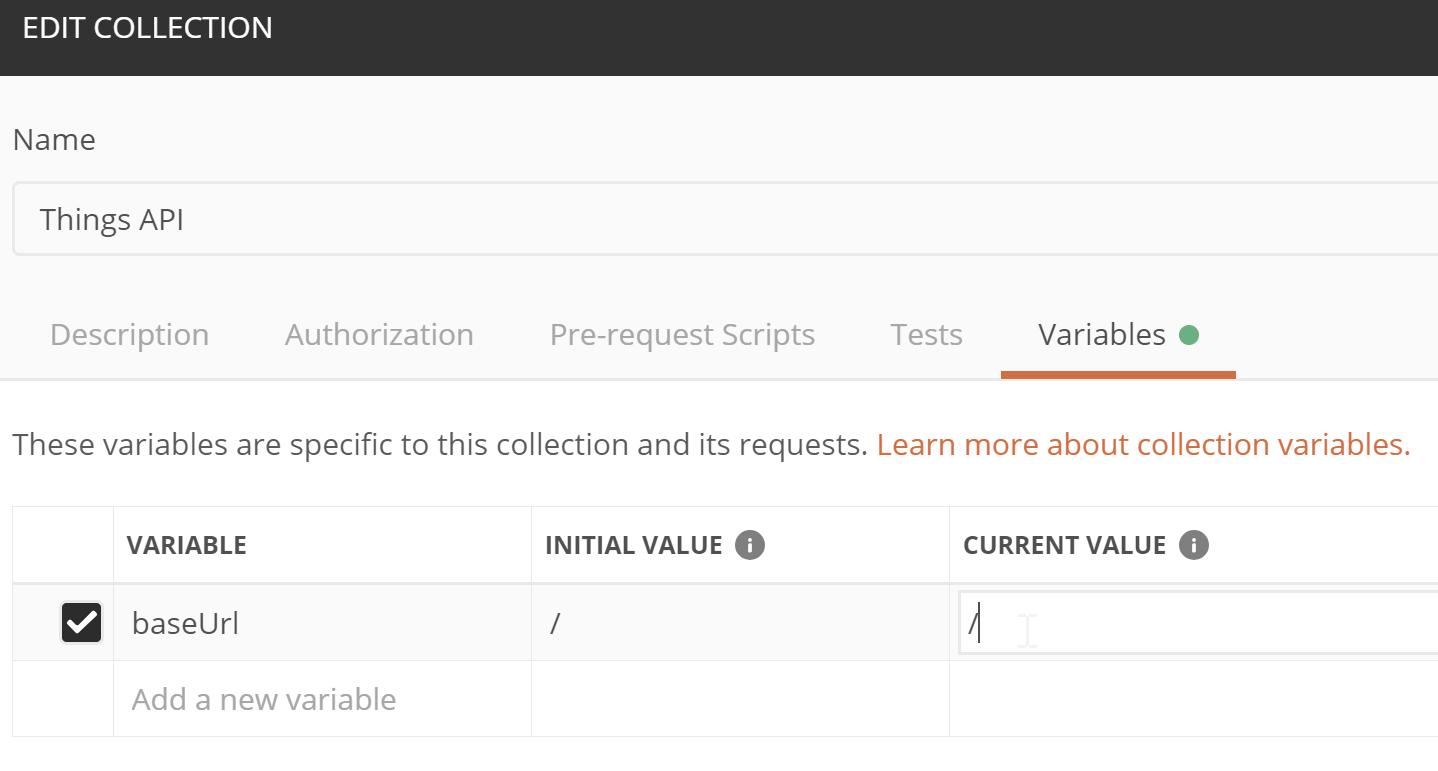
The requests have a baseUrl variable created by default,
which is nice.
But it points to just /. 😒
To fix that,
we can right-click the collection, click Edit,
and go to the Variables tab:
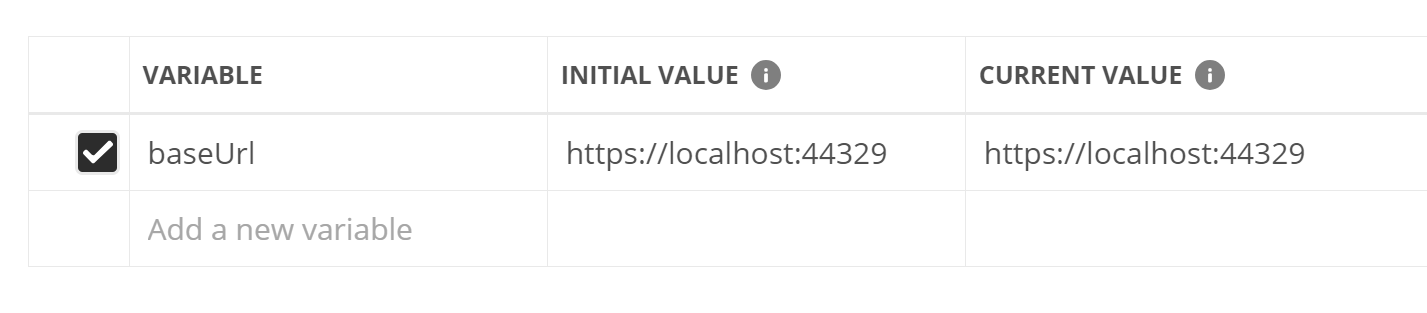
In my case, I changed it to point to my local dev server:
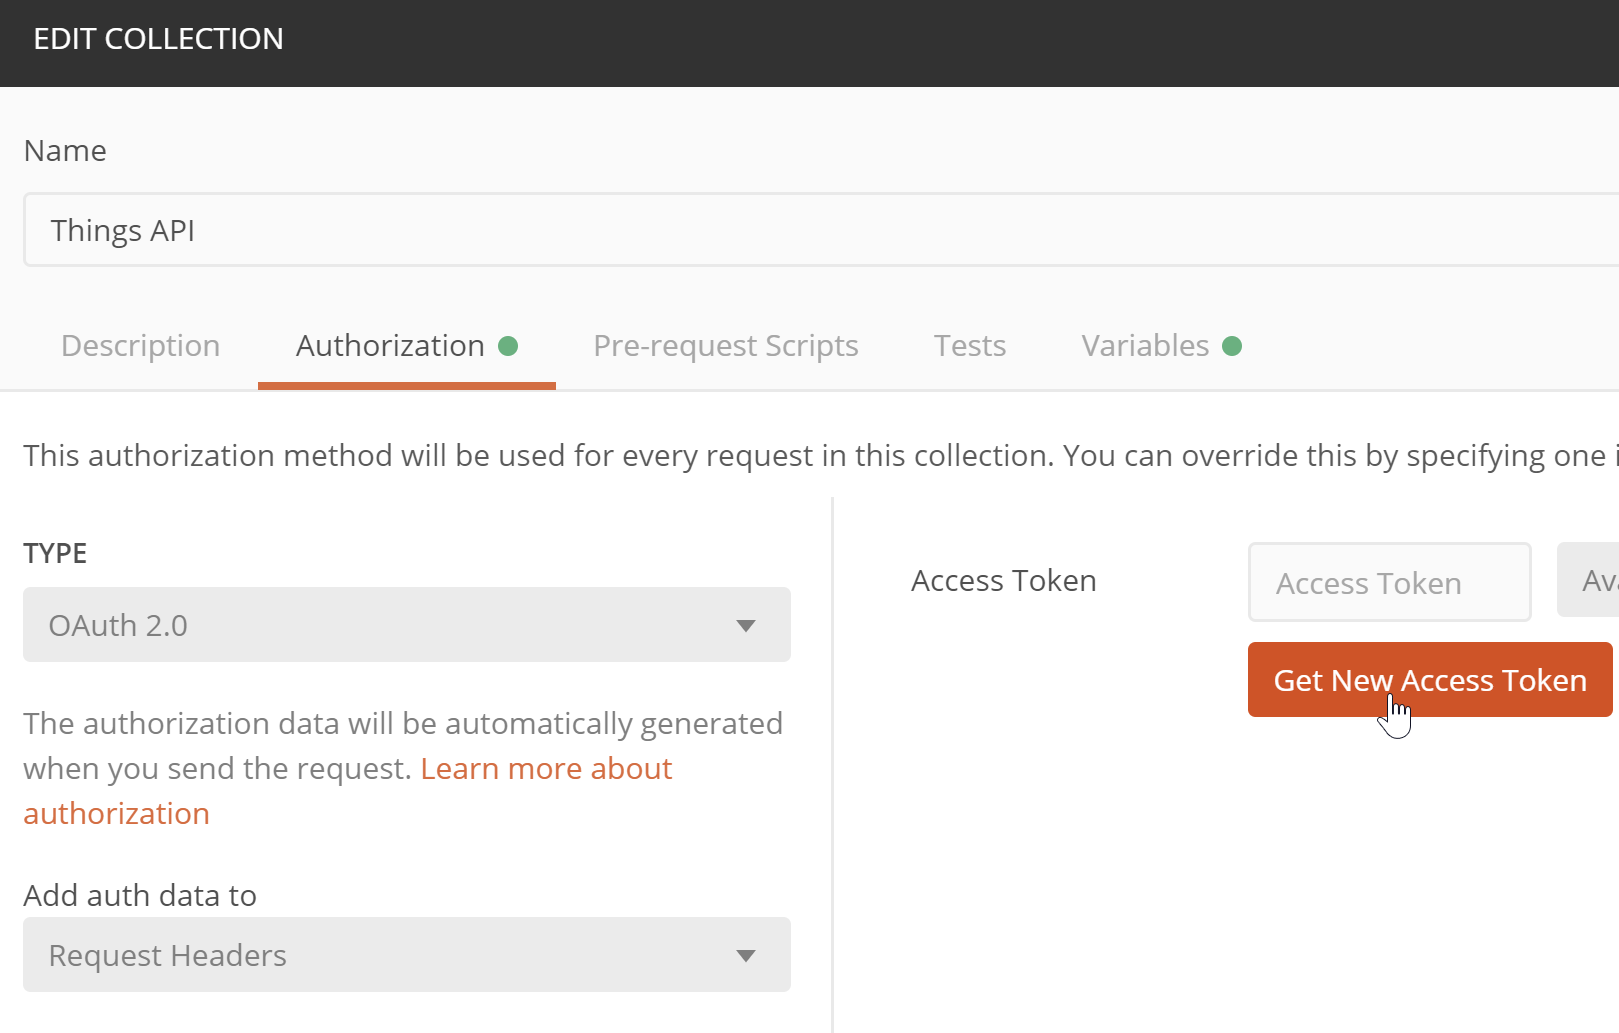
Now by default Postman doesn’t do a very good job of importing authentication configuration. Let’s set it up at the collection level. In the collection editor, we can go to the Authorization tab. Select OAuth 2.0, and click Get New Access Token:
In the dialog, you will need to use some values from the API app registration, and some from the new client app registration. Here is an example:
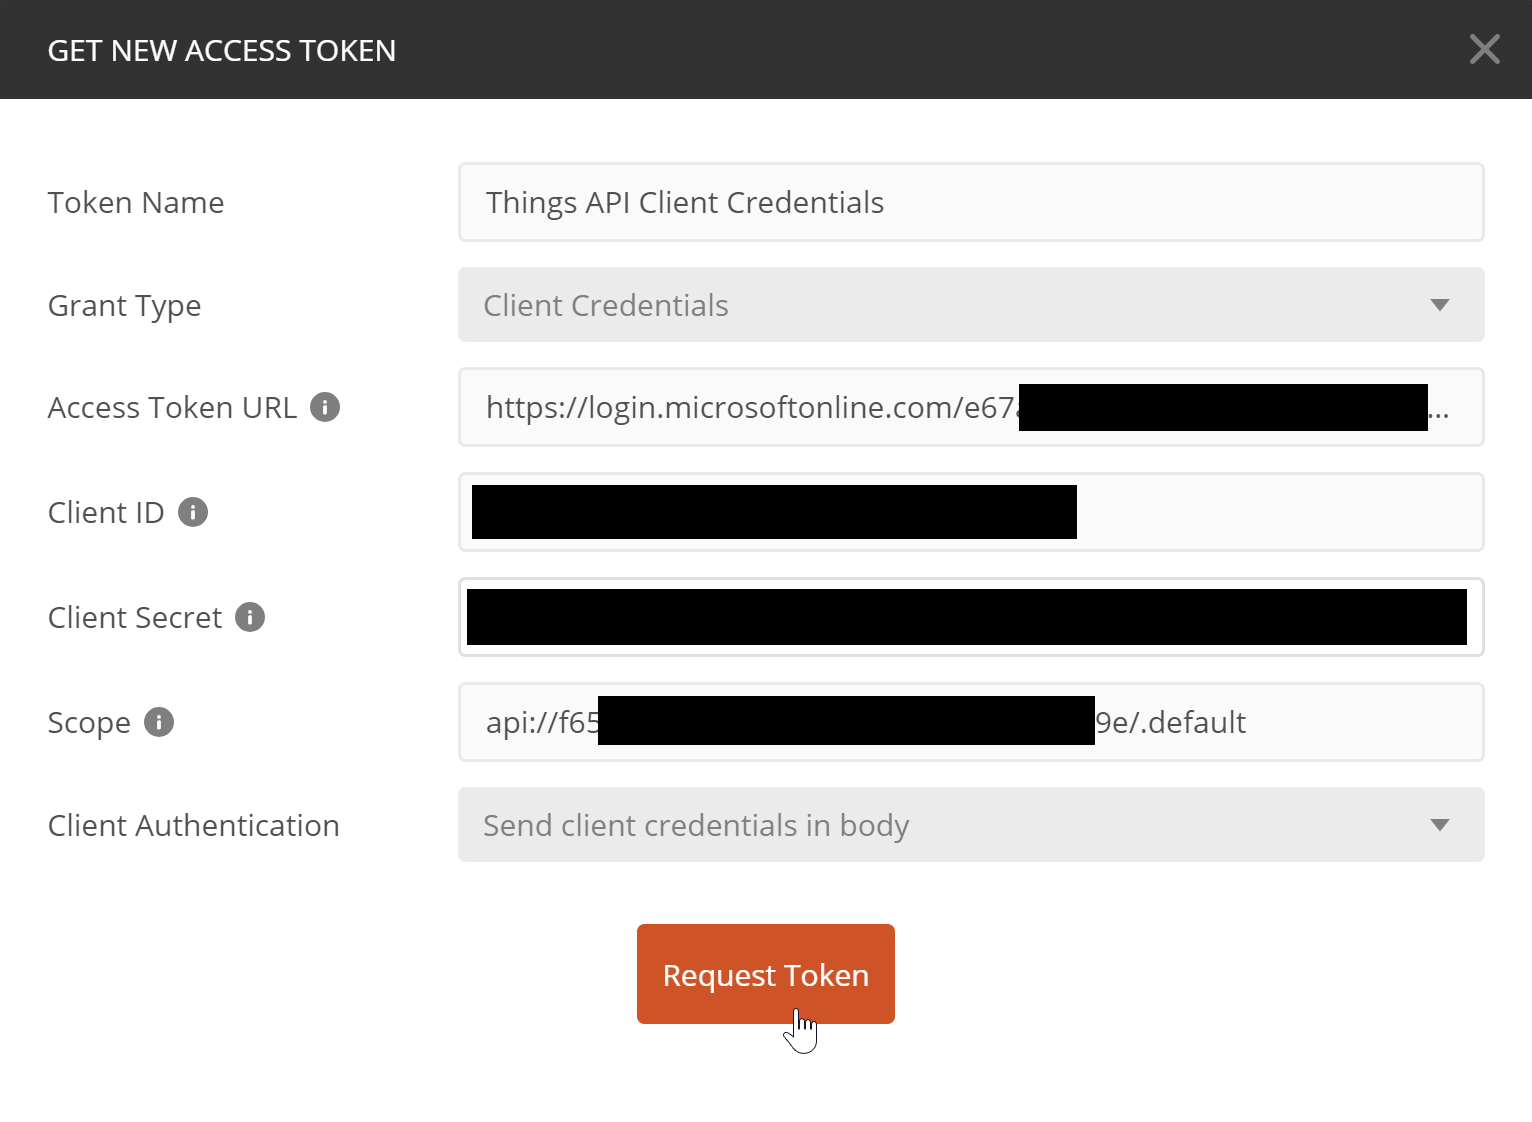
- Grant Type: Must be Client Credentials
- Access Token URL: You can get this via the Endpoints button on the Overview page of your app registration (OAuth 2.0 token endpoint (v2))
- Client ID: The new testing app registration’s application/client ID
- Client Secret: The key you added to the testing app registration
- Scope: Your API’s App ID URI + /.default
The scope is a bit different from what we used with Swagger UI last time. Since application permissions do not support incremental and dynamic consent, we must use the special /.default value to use static consent. So basically ask for a token with currently consented permissions (which we did through the portal).
If everything goes well, you should get an access token:
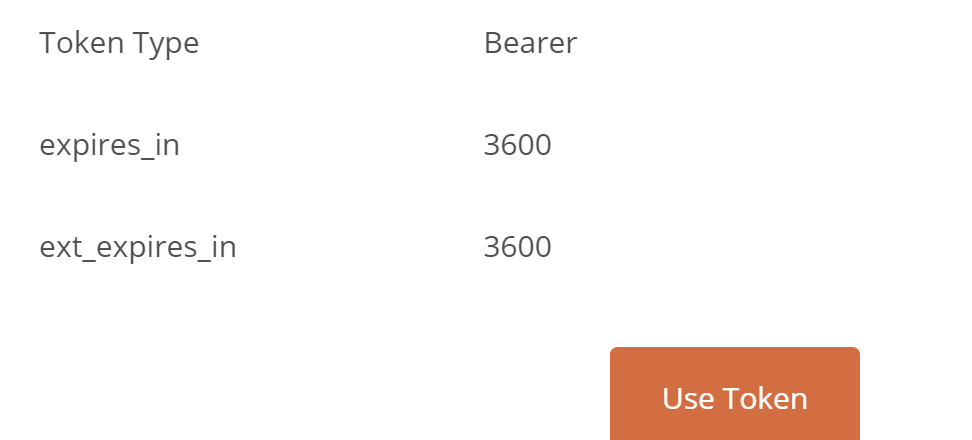
Now we can go to any request in the collection, and set its Authorization to Inherit auth from parent:

Now we should be able to send the request!
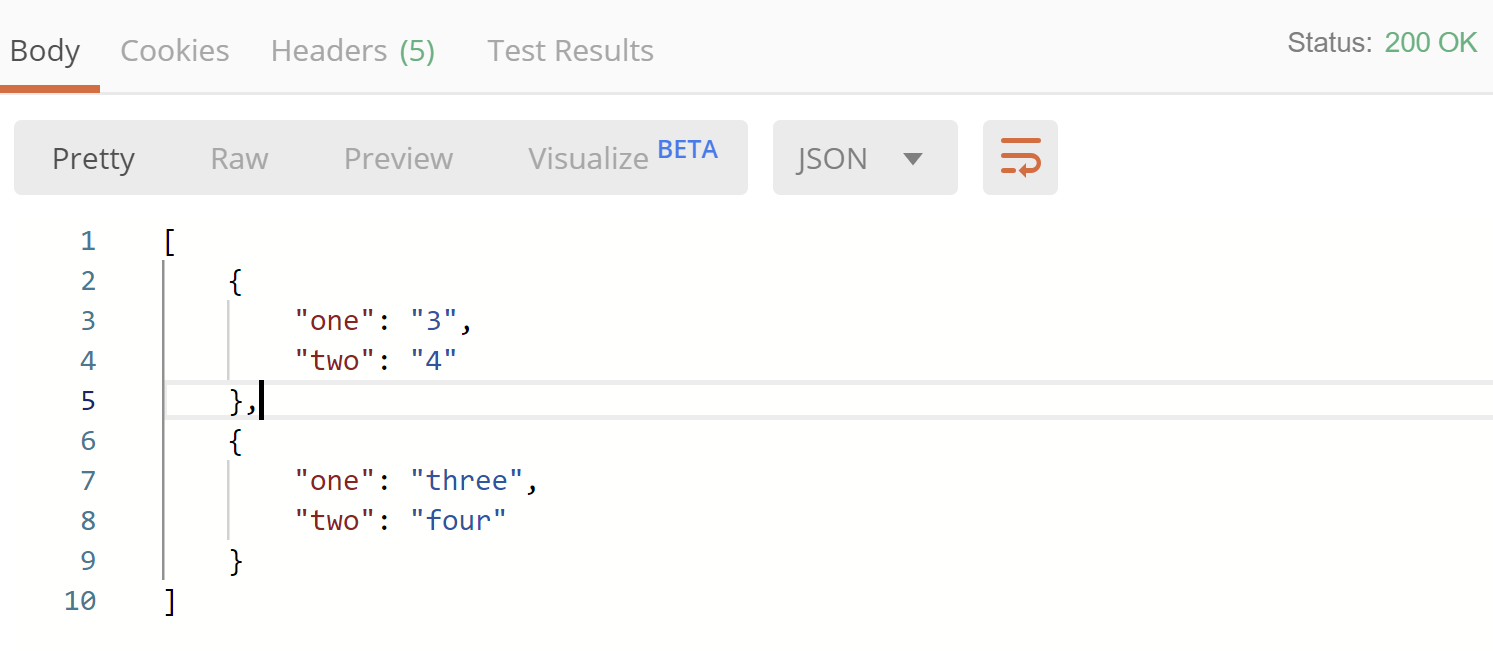
And there we have it :) We are now able to test the endpoints with application permissions. Sadly we cannot change them at will to test different authorization scenarios. Well, we can revoke the permissions through PowerShell and re-authorize the testing client app with different application permissions. But permissions get cached for a while, so this is not fast to do.
Testing delegated permissions with Postman
Now let’s see how we could do what we did last time with Swagger UI. Except this time we will use the Authorization code flow instead of the implicit flow.
First, I added a new redirect URI to the Things API app registration:
- Type: Public client/native
- URI:
http://localhost/postman
Then we can go to the Postman collection’s editor, and get a new access token with different settings:

- Grant Type: Must be Authorization Code
- Callback URL: The redirect URI we just added
- Auth URL: You can get this via the Endpoints button on the Overview page of your app registration (OAuth 2.0 authorization endpoint (v2))
- Access Token URL: Via the Endpoints button as well, same as with Client Credentials (OAuth 2.0 token endpoint (v2))
- Client ID: The API’s application/client ID
- Client Secret: Leave empty
- Scope: Enter full scope values for each delegated permission you want in the token, separated by spaces
You can get the full scope values from the Expose an API page of your API’s app registration.
Now we should be able to get a token. When you click Request Token, you’ll be required to login. After you sign in, you should receive a token:
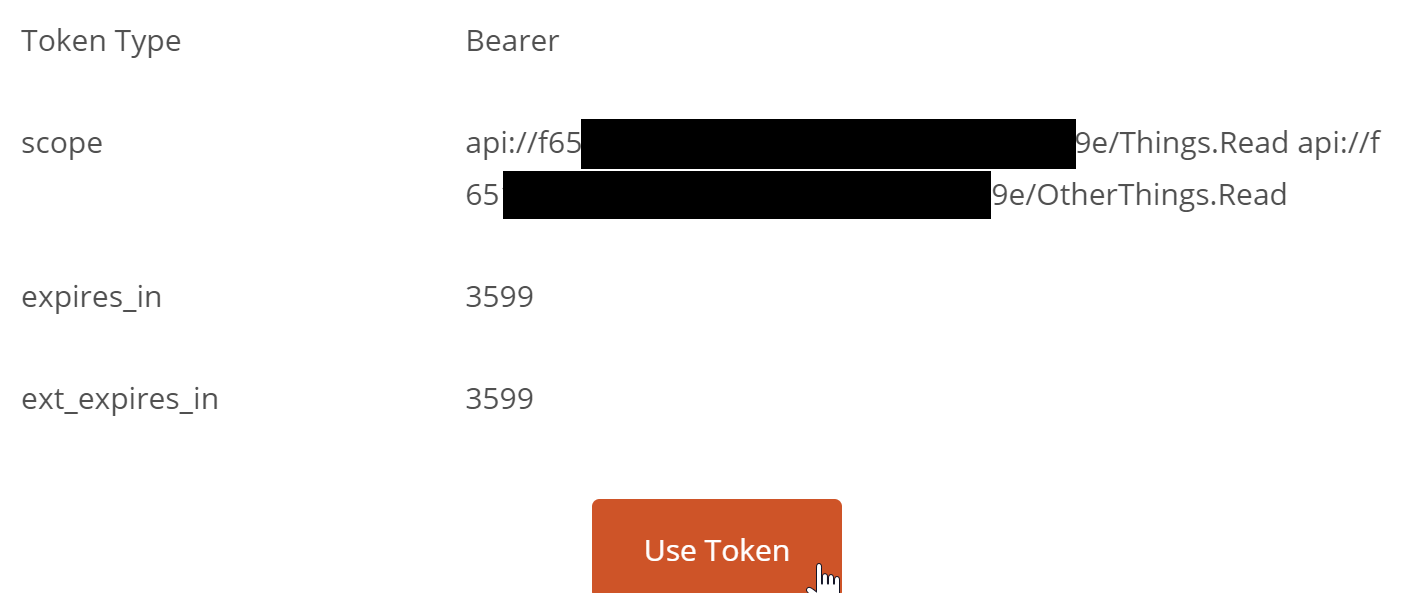
After we click Use Token, assuming the requests still inherit auth settings from their parent, we should be able to run them successfully. You should be able to also modify the scopes to whatever you want to have in the token by getting a new token with a different scope setting.
Summary
Defining application permissions for your API allows you to build services that call the API as themselves. This can be quite useful in many projects.
While writing this article I also tested the Insomnia and Postwoman clients. Insomnia has a nice UI, but seems to lack the ability to share authentication settings across requests. Postwoman also looks like a very promising project, but it does not support OAuth authentication, only manually entered Bearer tokens at the time of writing.
Postman provided the features I needed, so that’s what I chose to use here. If any other testing tool supports OAuth 2.0 authentication, the principles in this article should be applicable there as well.
Once again, I hope this article was useful for you. Until next time! I’m thinking next will be automated integration tests :)