In the previous part of this series, we looked at running integration tests against an Azure AD-protected API from a GitHub Actions workflow. We setup a workflow that injects secrets so we could get credentials from an Azure Key Vault at test run time. Those credentials were then used to call the API under test.
This time, let's have a look at Azure Pipelines. They are a part of Azure DevOps, the preferred tool at my employer. Since they support a YAML format for builds as well, it was relatively straightforward to change the YAML from GitHub Actions to the Azure Pipelines format.
But first, let's recap the modifications the API required to be able to run in GitHub Actions and how to create the service principal for the pipeline. If you have been following the series, these are the same steps that we did in the last part.
Service principal for the pipeline
We need some credentials that the tests can use to access the Azure Key Vault created in part 3 of this article series. The Key Vault contains user and app credentials that the tests can use to authenticate as a user or as an app.
When running the tests locally, we authenticated to the Key Vault using the developer's user account. But this time the tests are not executed on the developer's machine so we need to use application credentials.
To create the application credentials and give it access to the Azure Key Vault, we will use the cross-platform Azure CLI.
First, we need to login.
az login
az account set -s "id-of-subscription"
The second command sets the default subscription for commands. Here we use the id of the subscription containing the Key Vault. Then we can create an Azure AD service principal.
az ad sp create-for-rbac -n "AzurePipelinesAADTestingDemo" --sdk-auth --skip-assignment
There's a few parameters here, so let's break them down. You can get help on any command with e.g. az ad sp create-for-rbac -h by the way.
- n: Name for the service principal, it's good to give a descriptive name
- sdk-auth: Return the service principal credentials in JSON form, which we want
- skip-assignment: Don't assign an RBAC role to this service principal, it does not need it
After running the command, you should get JSON output similar to this in the console:
{
  "clientId": "",
  "clientSecret": "",
  "subscriptionId": "",
  "tenantId": "",
  "activeDirectoryEndpointUrl": "https://login.microsoftonline.com",
  "resourceManagerEndpointUrl": "https://management.azure.com/",
  "activeDirectoryGraphResourceId": "https://graph.windows.net/",
  "sqlManagementEndpointUrl": "https://management.core.windows.net:8443/",
  "galleryEndpointUrl": "https://gallery.azure.com/",
  "managementEndpointUrl": "https://management.core.windows.net/"
}
You will need this JSON in a bit, so don't lose it. The principal needs access to the Key Vault, so let's add that.
az keyvault set-policy -n "key-vault-name" --secret-permissions get list --spn "clientId-from-previous-output"
As mentioned in the command,
use the clientId from the JSON output of az ad sp create-for-rbac as the --spn parameter value.
This gives the service principal read access to all secrets in the specified Key Vault.
API project modifications
We need to make a slight modification to the test project to accept the AZURE_CREDENTIALS environment variable we add in the pipeline. You can see the modifications done in the commit on GitHub.
Here is how the configuration looks like after the modifications:
builder.ConfigureAppConfiguration(configBuilder =>
{
    // Adds user secrets for the integration test project
    // Contains the Key Vault URL and API authentication settings for me
    configBuilder.AddUserSecrets<AppFixture>();

    // Build temporary config, get Key Vault URL, add Key Vault as config source
    var config = configBuilder.Build();
    string keyVaultUrl = config["IntegrationTest:KeyVaultUrl"];
    if (!string.IsNullOrEmpty(keyVaultUrl))
    {
        // CI / CD pipeline sets up a credentials environment variable to use
        string credentialsJson = Environment.GetEnvironmentVariable("AZURE_CREDENTIALS");
        // If it is not present, we are running locally
        if (string.IsNullOrEmpty(credentialsJson))
        {
            // Use local user authentication
            configBuilder.AddAzureKeyVault(keyVaultUrl);
        }
        else
        {
            // Use credentials in JSON object
            var credentials = (JObject)JsonConvert.DeserializeObject(credentialsJson);
            string clientId = credentials?.Value<string>("clientId");
            string clientSecret = credentials?.Value<string>("clientSecret");
            configBuilder.AddAzureKeyVault(keyVaultUrl, clientId, clientSecret);
        }

        config = configBuilder.Build();
    }

    Settings = config.GetSection("IntegrationTest").Get<IntegrationTestSettings>();
});
So now we can pass the Key Vault credentials as an environment variable from the pipeline.
Creating the pipeline
Now it is time to create the pipeline! We can do this by going into our Azure DevOps project, and going to Pipelines -> Pipelines -> Create Pipeline. In my case, the code is on GitHub, so I chose that as the location:
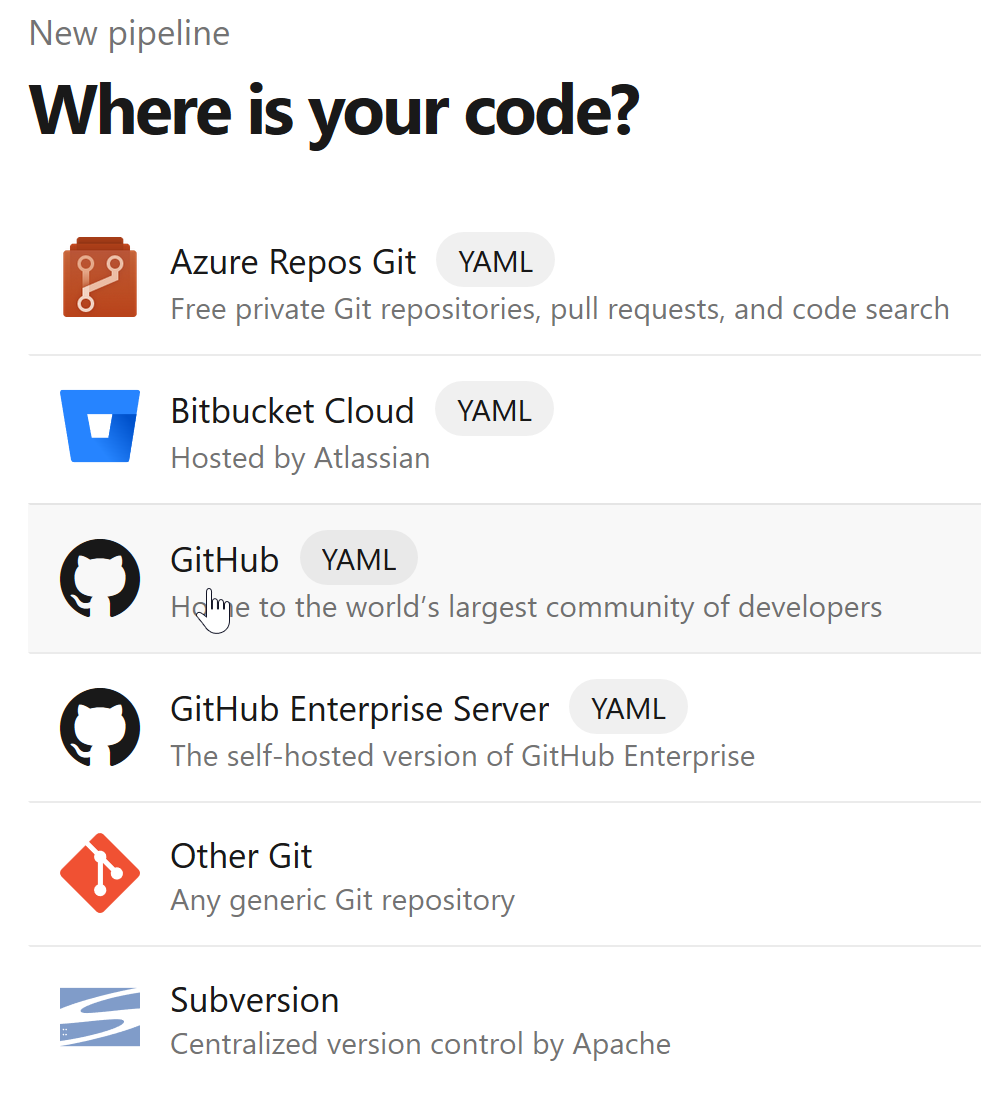
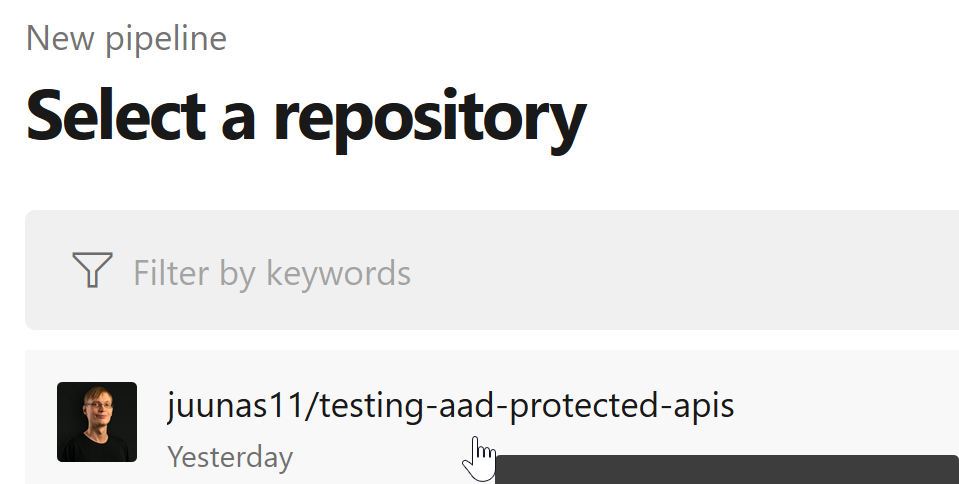
After choosing the location, I started with an empty template. Now we can setup the variables. This is pretty much the same as with GitHub Actions.
If you click on Variables in the top right, you can add new variables. We need 6 of them:
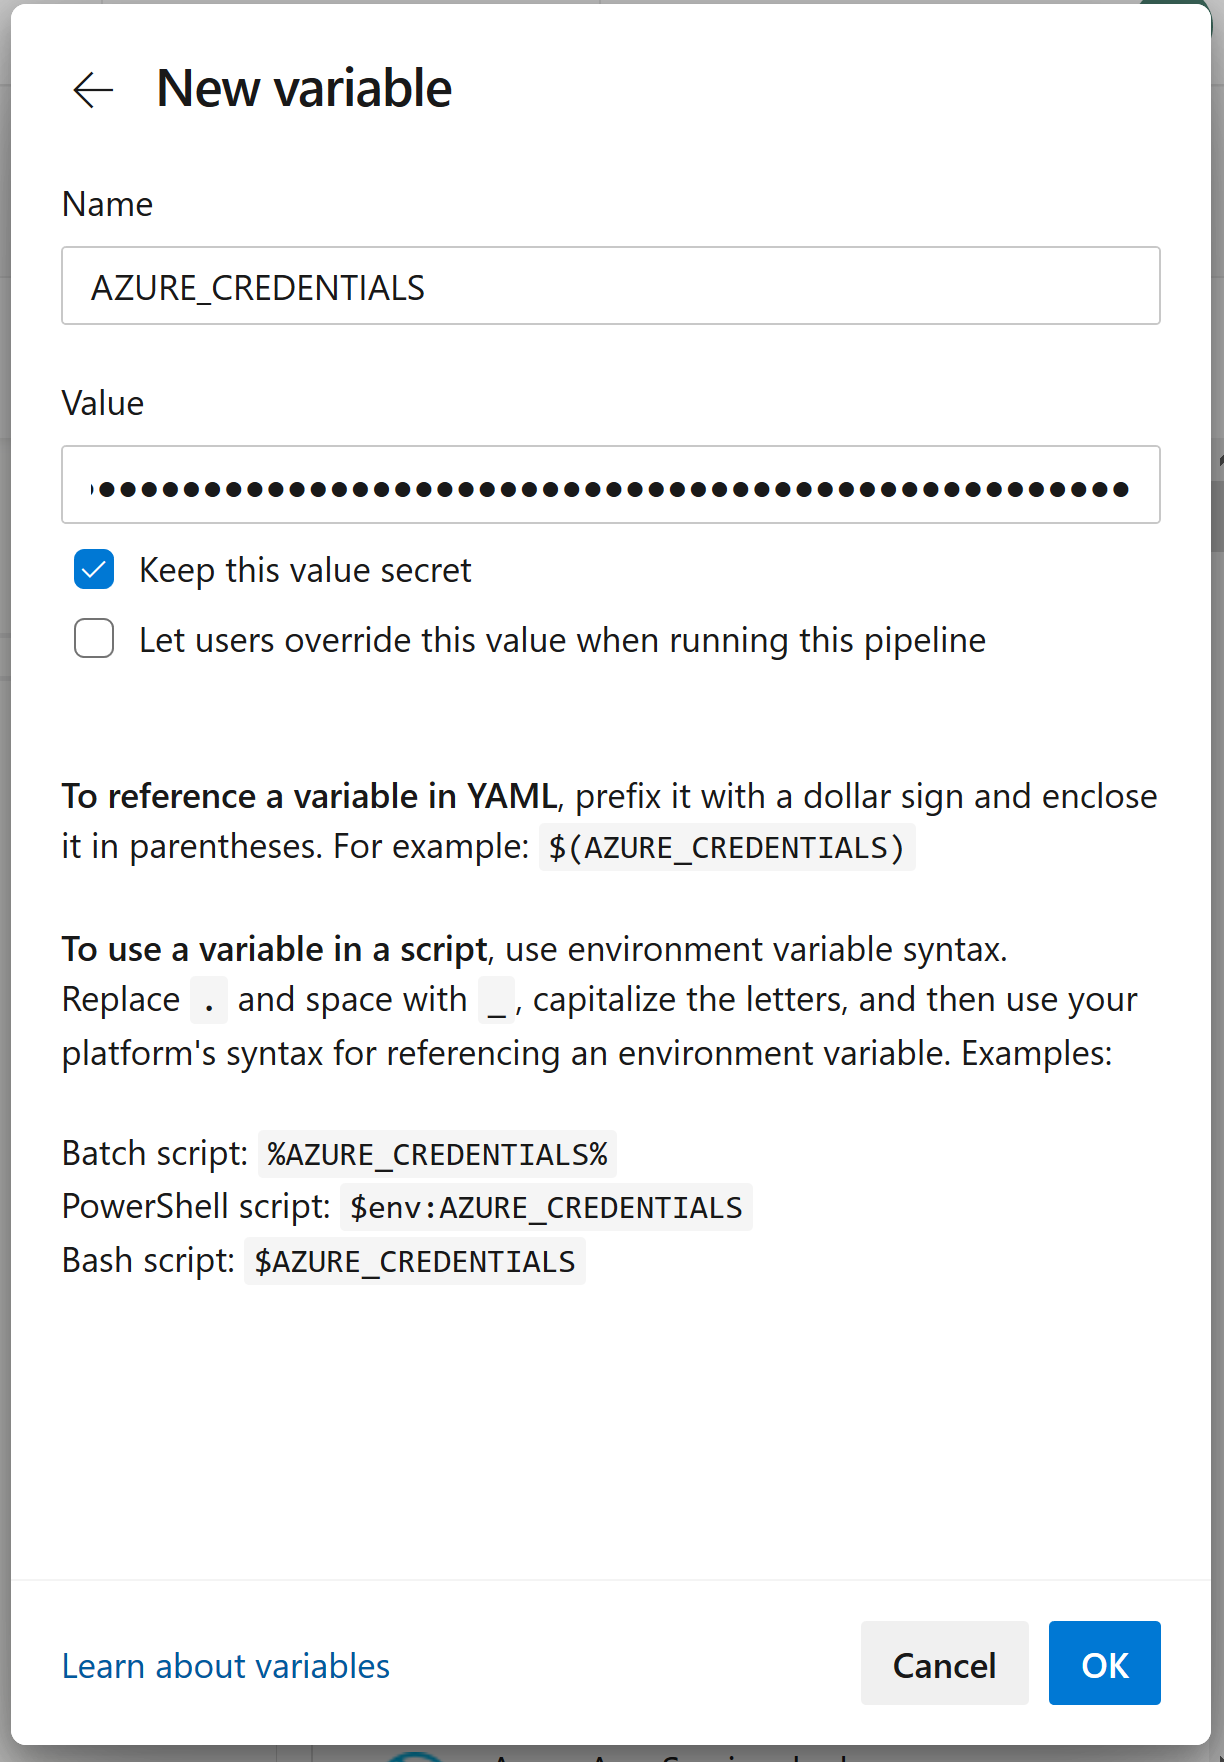
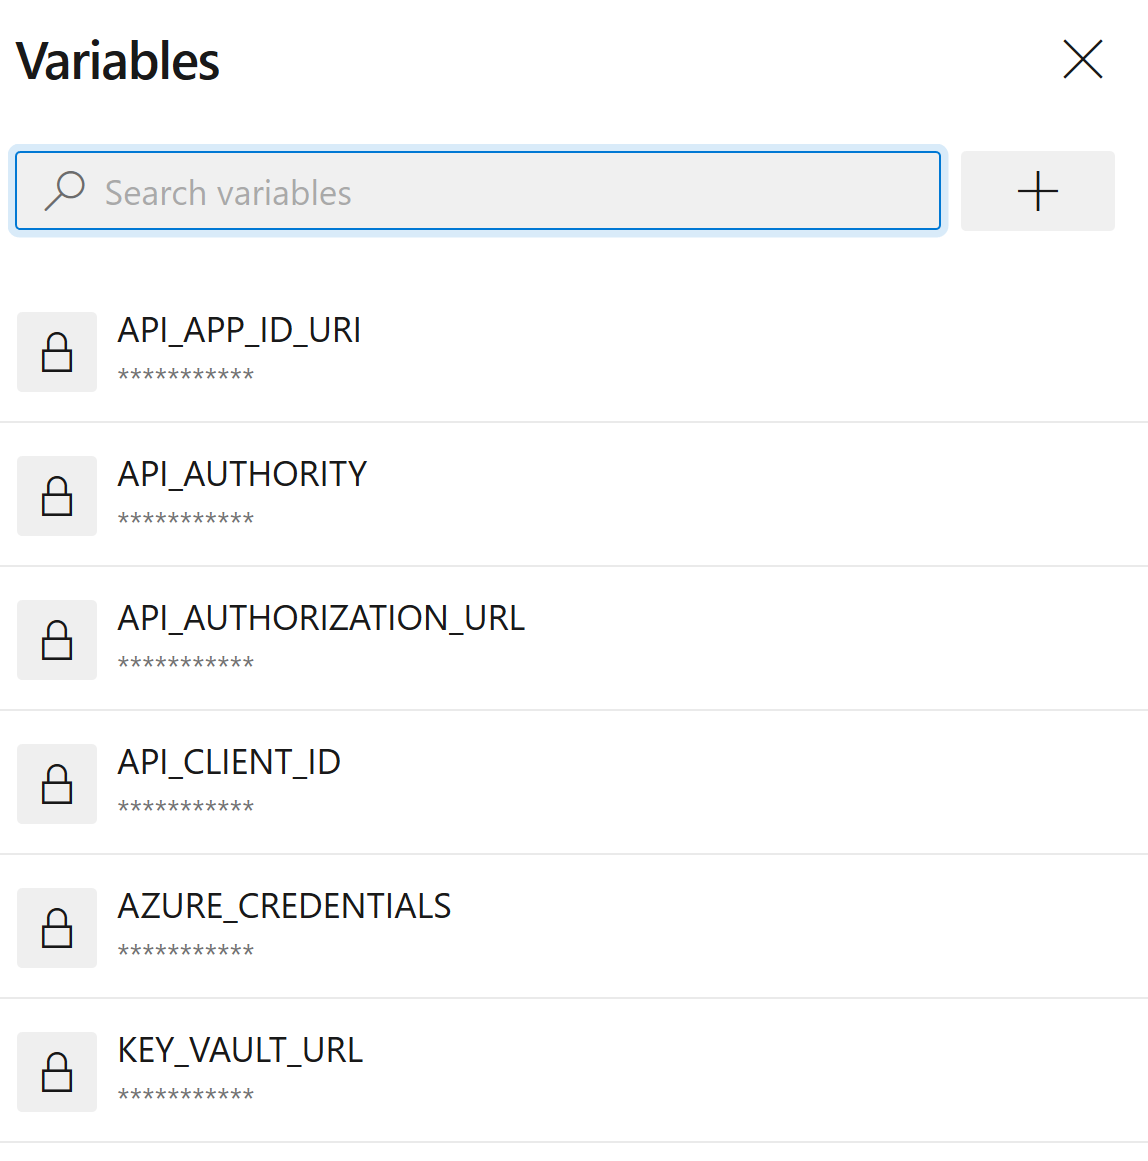
- AZURE_CREDENTIALS contains the JSON output of
az ad sp create-for-rbacfrom earlier. - API_APP_ID_URI is the application ID URI for the API app registration. This app registration is registered in a test Azure AD tenant.
- API_CLIENT_ID is the client id for the API app registration.
- API_AUTHORITY identifies the Azure AD tenant the API will accept tokens for.
- API_AUTHORIZATION_URL is the URL for the authorization endpoint used in the Swagger UI. It's not used in tests, but I felt it's better to configure the app properly here as well.
- KEY_VAULT_URL is the base URL for the Key Vault containing the user and app credentials :)
I made all of the values secrets here, but basically only the AZURE_CREDENTIALS variable needs to be secret.
Now let's start building the YAML. The pipeline will run on new commits to the master branch, and use the latest version of the Ubuntu Linux agent to run.
trigger:
- master

pool:
  vmImage: 'ubuntu-latest'
The first step is to ensure that .NET Core 3.1 SDK is on the agent. You might not need this step, depending on the agent image you use.
steps:
- task: UseDotNet@2
  displayName: Setup .NET Core
  inputs:
    packageType: 'sdk'
    version: '3.1.x'
Then we can run a restore and build on the solution:
- script: dotnet build --configuration Release
  displayName: Build with dotnet
And then run the tests:
- script: dotnet test --configuration Release --logger trx
  displayName: Test with dotnet
  workingDirectory: Joonasw.AadTestingDemo.IntegrationTests
  env:
    IntegrationTest__KeyVaultUrl: $(KEY_VAULT_URL)
    Authentication__Authority: $(API_AUTHORITY)
    Authentication__AuthorizationUrl: $(API_AUTHORIZATION_URL)
    Authentication__ClientId: $(API_CLIENT_ID)
    Authentication__ApplicationIdUri: $(API_APP_ID_URI)
    AZURE_CREDENTIALS: $(AZURE_CREDENTIALS)
We add the variables we defined earlier as environment variables so the tests can access them. Also note we set the working directory to the test project.
We have added --logger trx to the command from last time.
This allows us to publish the test results in Azure DevOps:
- task: PublishTestResults@2
  displayName: Publish test results
  condition: succeededOrFailed()
  inputs:
    testRunner: VSTest
    testResultsFiles: '**/*.trx'

Here is the complete YAML for your reference:
trigger:
  - master

pool:
  vmImage: "ubuntu-latest"

steps:
  - task: UseDotNet@2
    displayName: Setup .NET Core
    inputs:
      packageType: "sdk"
      version: "3.1.x"

  - script: dotnet build --configuration Release
    displayName: Build with dotnet

  - script: dotnet test --configuration Release --logger trx
    displayName: Test with dotnet
    workingDirectory: Joonasw.AadTestingDemo.IntegrationTests
    env:
      IntegrationTest__KeyVaultUrl: $(KEY_VAULT_URL)
      Authentication__Authority: $(API_AUTHORITY)
      Authentication__AuthorizationUrl: $(API_AUTHORIZATION_URL)
      Authentication__ClientId: $(API_CLIENT_ID)
      Authentication__ApplicationIdUri: $(API_APP_ID_URI)
      AZURE_CREDENTIALS: $(AZURE_CREDENTIALS)

  - task: PublishTestResults@2
    displayName: Publish test results
    condition: succeededOrFailed()
    inputs:
      testRunner: VSTest
      testResultsFiles: "**/*.trx"
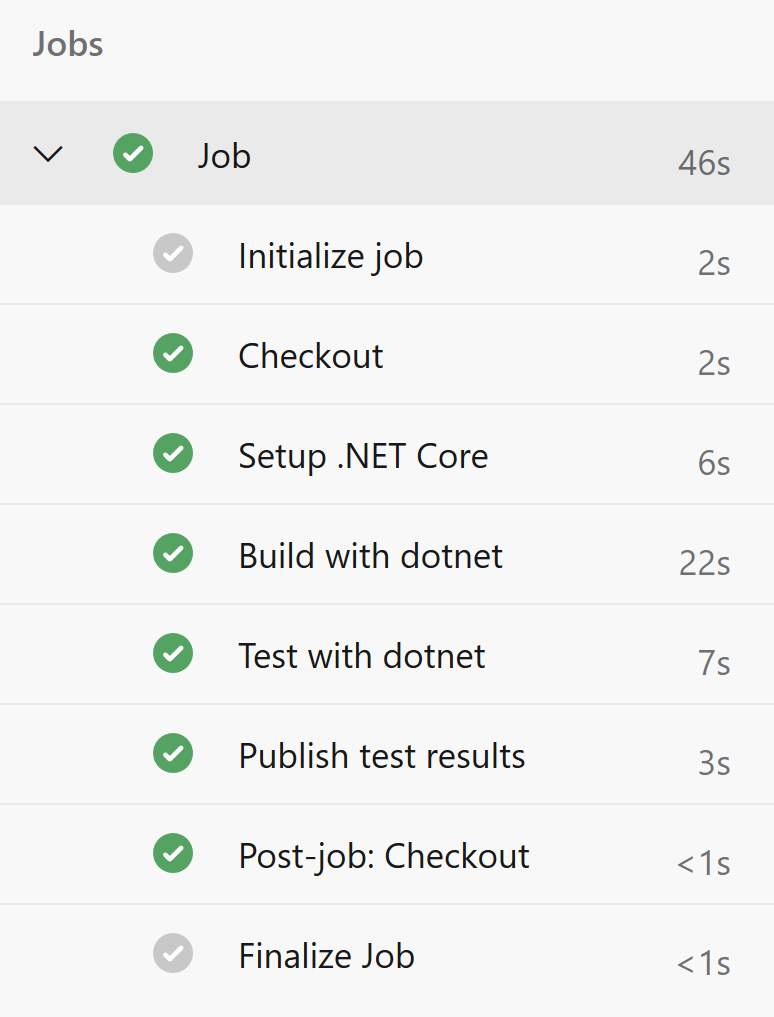
After defining the pipeline, we can run it:
Summary
Running integration tests like this in Azure DevOps was pretty similar in complexity to GitHub Actions. Honestly, the main hurdle is getting the YAML right.
With this setup, we can run integration tests in our pipeline quite nicely 😁 You just have to remember that the service principal credentials as well as the user credentials can and do expire, so make sure you have the ability to renew them when necessary.